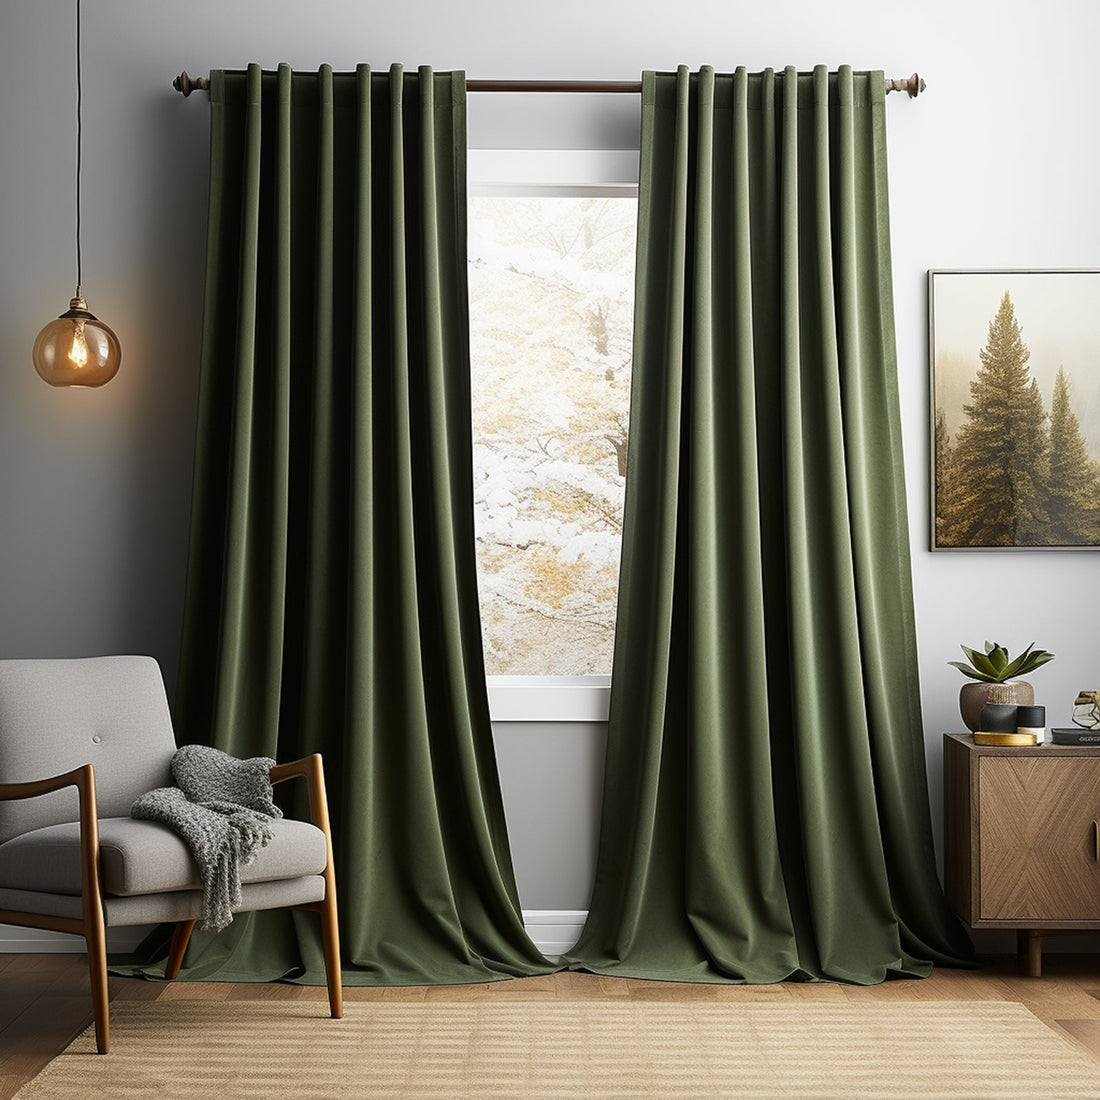
3 Common Curtain-Hanging Mistakes (and Pro Solutions to Fix Them Like a Designer)
Curtains are the unsung heroes of interior design – they frame your view, manipulate light, and elevate spaces from basic to bespoke. Yet 78% of homeowners make critical installation errors that undermine both form and function. Let’s transform your window treatments from "almost right" to editorial-worthy with these expert fixes.
Mistake 1: The Narrow Panel Pitfall
What’s Wrong
Using panels narrower than 2x the window width creates a "stingy" appearance when open and fails to fully cover glass when closed. Slim panels also emphasize window boundaries rather than creating luxurious folds.
Designer Fix
- Golden Ratio: Multiply window width by 2.5 for standard fullness (e.g., 48" window → 120" total panel width)
- Small Space Hack: Use 3x width with sheer fabrics to create illusion of expansive windows
- Custom Touch: Add leading edge weights (¼ lb fishing sinkers sewn into hem) for fluid drape
Mistake 2: Length Lapses – The Floating vs. Pooling Paradox
The Error
Panels ending at sill level visually truncate walls, while floor-dusting fabrics become dirt magnets. The sweet spot? ½" floor clearance for standard rooms, 1" for high-traffic areas.
Precision Solutions
| Scenario | Ideal Length | Tool |
|---|---|---|
| Standard ceilings | ½" above floor | Laser measure |
| Radiator windows | 1" above heater | Magnetic curtain weights |
| Dramatic spaces | 1-3" puddle | Steam-resistant liners |
Pro Tip: For 9’ ceilings, install rods 6-8" above frames; 10’+ ceilings allow 12-18" extensions.
Mistake 3: Rod Placement Roulette
Critical Measurements
- Width: Rod should extend 8-12" beyond window frame (18" for corner windows)
- Height: 4-6" above trim standard; up to ⅓ wall height below crown molding
Installation Toolkit:
- Use stud finder to secure brackets in wall cavities
- For plaster walls, toggle bolts support up to 25 lbs
- Camouflage brackets with finial-to-finial drapery chains
Mistake 4: Aesthetic Overload Syndrome
The Trap
Choosing opaque velvets for sun-drenched nurseries or sheer linens for media rooms sacrifices practicality.
Layering Masterclass:
Front Layer: Decorative (Linen, Velvet)
Middle Layer: Functional (Blackout, Thermal)
Back Layer: Structural (Sheer UV Filter)
Smart Combo: Roman shade (light control) + relaxed linen drapes (style)
Bonus: 30-Second Diagnostic Tool
Evaluate your current curtains:
- Fullness Test: Closed panels should overlap by 4-6" at center
- Light Seal: Shine flashlight at night – >90% bleed means upgrade needed
- Rod Check: Brackets shouldn’t bend downward when panels drawn
Transform your windows from functional to fabulous with our curated drapery toolkit – explore adjustable tracks, designer hooks, and fabric calculators.